I’ve found that the most efficient kitchen design is one that matches how you actually cook, not some ideal layout you saw online.
The working triangle—connecting your fridge, sink, and stove with 4–9 foot sides—works well for minimizing wasted steps. But here’s the thing: combining that triangle with distinct work zones (prep, cooking, storage, cleaning) is where real benefits happen.
Your kitchen size matters too; L-shaped layouts work particularly well for smaller spaces, while U-shaped designs maximize storage in bigger kitchens. The key? Test your layout before renovating to see what actually works for you.
Kitchen Efficiency Starts With Understanding Your Cooking Style
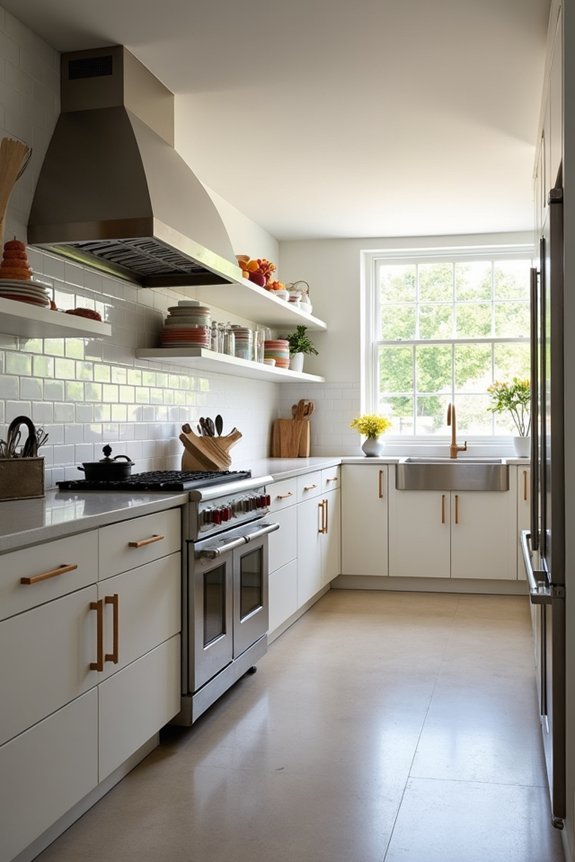
How often do you actually use your kitchen? That’s the question I started asking myself when redesigning mine. I realized my cooking style—lots of prep work, minimal entertaining—needed a different approach than my neighbor’s setup.
I learned that kitchen efficiency starts by matching your layout to how you cook. If you’re like me, prepping vegetables constantly, you’ll want your prep zone close to your cooking zone. This cuts down on annoying steps.
I also discovered the working triangle concept: your refrigerator, sink, and stove should stay between 4 and 9 feet apart. This keeps you from exhausting yourself during dinner prep.
Consider a work-zone layout too. Creating five distinct zones—storage, prep, cooking, table setting, and cleaning—lets you flow naturally through your kitchen without bumping into yourself. It’s an effective approach, honestly.
The Working Triangle: A Time-Tested Foundation
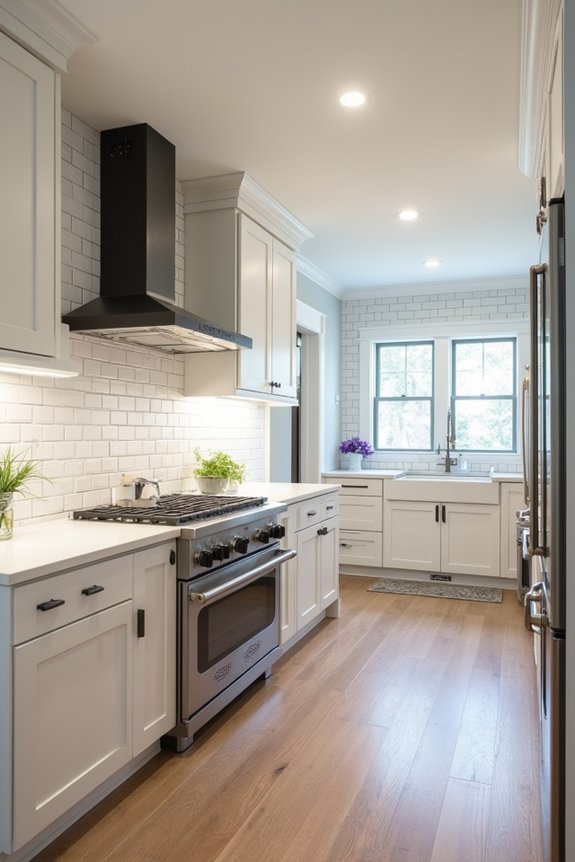
Why’s the working triangle such a big deal? It’s changed how I think about kitchen layout. This concept connects your refrigerator, sink, and stove with imaginary lines, creating the heart of kitchen efficiency.
Here’s what makes it work: each side should measure between 4 and 9 feet, with a total perimeter hitting 13 to 26 feet. Obstacles shouldn’t eat up more than 12 inches into that triangle space. When you follow these guidelines, cooking flows naturally—you’re not zigzagging across the kitchen like you’re lost.
The real benefit? Everything you need sits within arm’s reach. Counter space around your sink and appliances stays functional. It’s an effective approach for anyone serious about kitchen efficiency.
The Work Zone Method: Parallel Efficiency for Modern Cooks
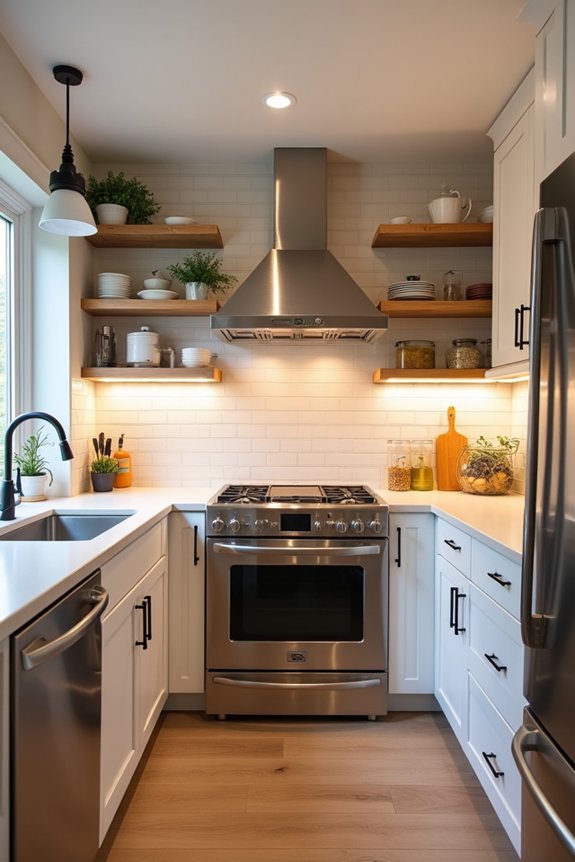
I’ve found that organizing your kitchen into distinct zones—like keeping your knives and cutting boards near your prep area, your pots and pans close to the stove, and your plates within arm’s reach of the table—improves how efficiently you (and anyone cooking with you) can work. Instead of running back and forth across the kitchen like you’re training for a marathon, smart appliance placement and thoughtful storage planning let multiple people cook at the same time without constantly bumping into each other. Let me break down how to make these three elements work together in your space.
Zone Organization And Workflow
Ever notice how some kitchens feel like organized dance floors while others feel like bumper cars at a county fair?
I’ve found that smart zone organization improves your workflow completely. When I arrange my kitchen into dedicated work zones—Food Storage, Food Prep, Cooking, and Cleaning—I stop wasting energy running back and forth like I’m training for a marathon. I keep my prep tools clustered together, my cookware near the stove, and my dishes close to the sink. This setup lets me finish tasks within one zone before moving to the next.
The benefit? Multiple people can cook simultaneously without bumping into each other. You’re not competing for the same space anymore. Instead, everyone has their own zone to work within, creating parallel workflows that make cooking together more enjoyable rather than stressful.
Appliance Placement Strategies
Now that you’ve got your zones mapped out, it’s time to think about where your appliances actually go—because a great layout means nothing if your fridge is a football field away from your prep station.
Smart appliance placement improves how you cook. Within your work zone setup, I position my stove near my spice storage and prep bowls. My refrigerator sits close to the food prep zone, not isolated in some corner. This beats the traditional work triangle because multiple cooks can operate simultaneously without bumping elbows.
| Zone | Best Appliance |
|---|---|
| Food Prep | Blender, Mixer |
| Cooking | Stove, Oven |
| Food Storage | Refrigerator, Pantry |
| Cleaning | Dishwasher, Sink |
Strategic placement prevents those frustrating trips across your kitchen. You’re building a space that actually works for real cooking.
Storage Planning Essentials
Where do you actually keep your stuff in a kitchen that works? Smart kitchen storage starts with organizing around your work zone—the heart of efficient layout. I keep my spices and oils near my prep area, so I’m not sprinting across the kitchen mid-recipe. Your fridge and pantry should sit close to where you’ll actually use them, not tucked away in some forgotten corner.
Think of it this way: group similar tasks together. Dishes live near your table-setting zone, not buried in a random cabinet. When everything has a logical home based on how you actually cook, you’ll spend less time hunting and more time creating. That’s when a kitchen truly functions for you.
Should You Combine Triangle and Zone Approaches?
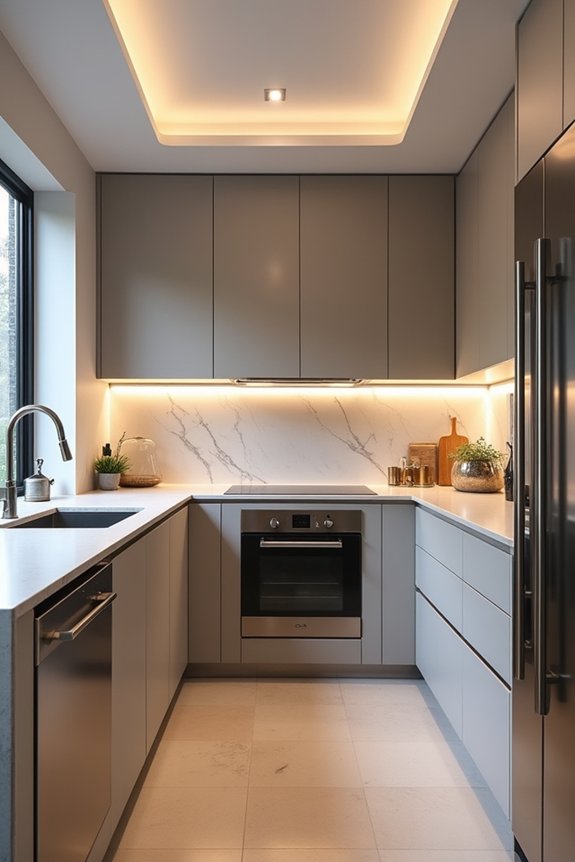
I’ve found that blending both methods actually works better than picking just one, especially if you have a bigger kitchen or multiple people cooking at once. You can use the triangle to create efficient pathways between your fridge, sink, and stove, while also organizing your space into distinct zones—say, a prep zone near the sink and a cooking zone near the stove—so you’re not constantly bumping into someone else or backtracking for supplies. It’s like getting the best of both worlds: the quick, focused movement of the triangle combined with the parallel workflows that zones make possible.
Triangle and Zone Integration
Should you pick one kitchen design method and stick with it, or can you actually blend them together? I’ve found that combining the Working Triangle with Work Zones works well. Here’s why: the triangle keeps your core movement efficient—fridge, sink, and stove stay connected—while Work Zones let you handle multiple tasks without everyone bumping into each other. Think of it this way: your triangle forms the backbone, and your zones branch out from there. Kitchen Layout integration means you’re preserving that efficient triangle for your main workflow while overlaying zones for food prep, cooking, and cleaning. This hybrid approach adapts to how you actually cook, whether you’re solo or juggling multiple people in the kitchen.
Workflow Efficiency Combined
The hybrid approach I mentioned earlier isn’t just theory—it’s actually how modern kitchens work best in real life. When I combine the working triangle with work zones, I create a kitchen that flows naturally while keeping me organized. Think of it this way: the triangle handles your core appliance relationships, while zones prevent me from zigzagging all over creation.
Here’s what this partnership accomplishes:
- Refrigerator zone aligns with one triangle point for easy access
- Cooking zone centers around your stove without disrupting prep areas
- Sink zone serves as both triangle anchor and cleanup headquarters
- Prep zone sits between fridge and cooking stations
- Cleaning zone stays separate, reducing cross-traffic completely
I’ve found this combination eliminates wasted steps. You’re not bouncing between distant appliances, and you’ve got designated spaces that make sense. That’s efficiency.
Optimal Layout Synergy
Why settle for just one approach when you can use both? I’ve found that combining the Working Triangle with Work Zones creates a kitchen that actually works for real life. Here’s what I mean: I position my fridge near my prep zone, keep my sink close to cooking, and place my range where it connects to both prepping and cleaning areas. This Hybrid Layout eliminates those annoying back-and-forth trips that drive me crazy. By clustering related tools together while respecting the triangle’s efficient distances, you’re following a practical strategy that works with how you actually cook. Whether you’re cooking solo or managing multiple cooks simultaneously, this combined approach works better than using either method alone. It’s flexibility paired with efficiency.
How Kitchen Size Shapes Your Layout Options
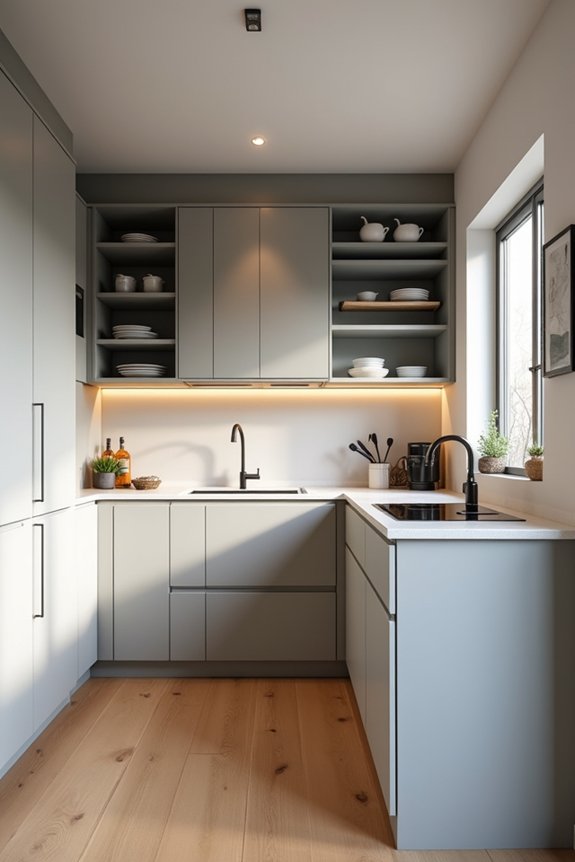
How much space you’re working with honestly changes everything about what’ll work in your kitchen.
I’ve learned that your kitchen layout depends heavily on square footage. Here’s what I’ve discovered:
- Tiny spaces need a single-wall design to maximize floor area
- Small to medium kitchens work well with L-shaped layouts offering distinct working zones
- Galley kitchens function effectively in narrow spaces with opposite hob and sink placement
- Larger kitchens support U-shaped designs following the classic work triangle
- Open-concept spaces let you flex with islands while maintaining space optimization
When I’m helping someone plan, I ask: “What’s your actual square footage?” Because there’s no one-size-fits-all kitchen layout. A galley setup that works for tight quarters feels cramped in a spacious area. Understanding your dimensions helps you create efficient working zones that actually make cooking enjoyable rather than frustrating.
L-Shaped Layouts: Best for Compact, Efficient Workflows
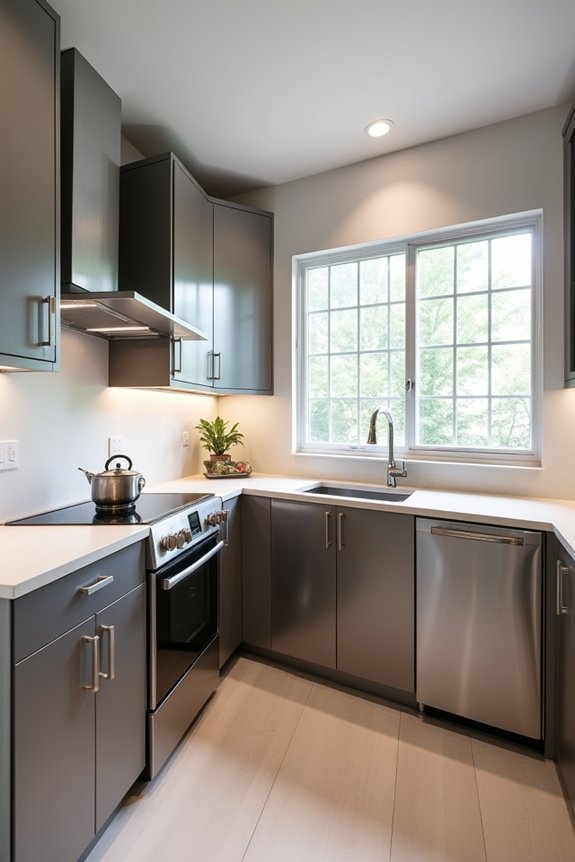
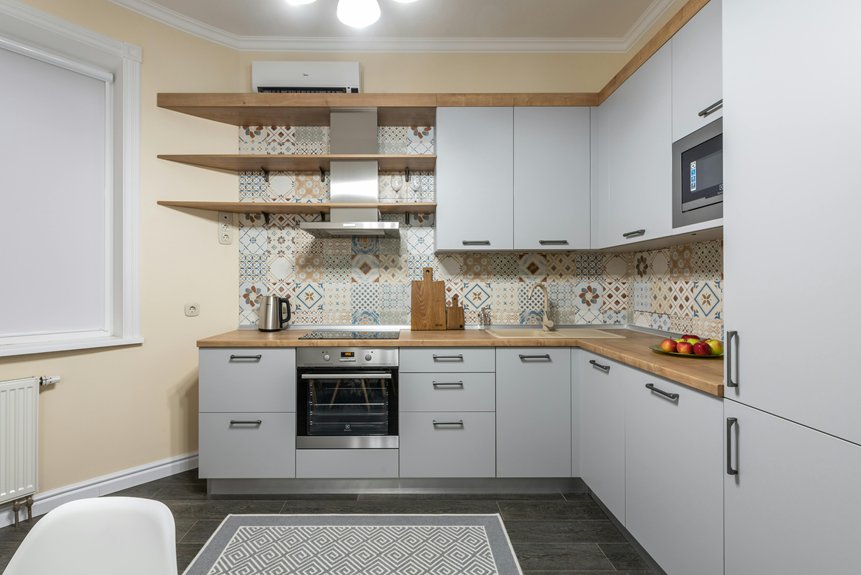
I’ve found that L-shaped kitchens are like the Swiss Army knives of kitchen layouts—they pack efficiency into tight spaces by hugging two walls, which means you’re not wasting steps or sprawling into dead zones. What I appreciate is how naturally they create that golden work triangle: I position my fridge on one end, stove on the other, and sink in the middle, so I’m moving smoothly between prepping, cooking, and cleaning without doing laps around the kitchen. The real advantage, though, is how they handle traffic—people can flow through without bumping into you while you’re working, and you’ve still got room to sneak in an island or dining nook if you’re clever about it.
Compact Space Optimization
When you’re working with a tight kitchen space, an L-shaped layout provides practical benefits for staying organized. This kitchen layout works well because it maximizes every inch without feeling cramped.
Here’s what makes it effective for compact spaces:
- Places your working triangle (fridge, sink, range) in an efficient sequence
- Tucks appliances along two walls, freeing up floor space
- Uses corner storage with lazy Susans or pull-out organizers
- Keeps traffic flowing naturally through your kitchen
- Leaves room for a small island if desired
The benefit? You’re not sacrificing functionality for square footage. You can prep, cook, and clean without doing an awkward shuffle. That’s genuine efficiency.
Traffic Flow Advantages
Why does an L-shaped kitchen keep you from bumping into people while you’re cooking? The answer lies in how this layout naturally guides movement. An L-shaped layout creates clear pathways around the perimeter, preventing the awkward kitchen dance we’ve all experienced. The work triangle—connecting your refrigerator, cooktop, and sink—keeps you moving efficiently without blocking others’ routes.
| Feature | Benefit |
|---|---|
| Two adjacent walls | Defines cooking zones clearly |
| Open perimeter | Enables smooth foot traffic |
| Work triangle | Minimizes unnecessary steps |
| Corner storage | Keeps walkways uncluttered |
| Island option | Adds prep space safely |
When you’re prepping dinner, someone can grab a snack without interrupting your flow. You’re not constantly sidestepping people, which makes cooking less stressful.
Work Triangle Efficiency
Now that you’ve got the basic layout down, let’s talk about the work triangle in L-shaped kitchens. Optimizing your kitchen work triangle improves how you cook and clean. Here’s what makes it work:
- Place your fridge and sink on one wall, your range on the other
- Keep each side between 4 and 9 feet for comfortable reach
- Maintain a total perimeter of 13 to 26 feet
- Position your dishwasher near the sink for efficient cleanup
- Leave countertop space within the triangle for prep work
This layout creates three distinct zones—prepping, cooking, and cleaning—that flow naturally. You’ll spend less time zigzagging around your kitchen and more time enjoying what you’ve made. That’s the workflow efficiency you’re looking for.
U-Shaped Layouts: Maximum Storage and Three-Wall Versatility
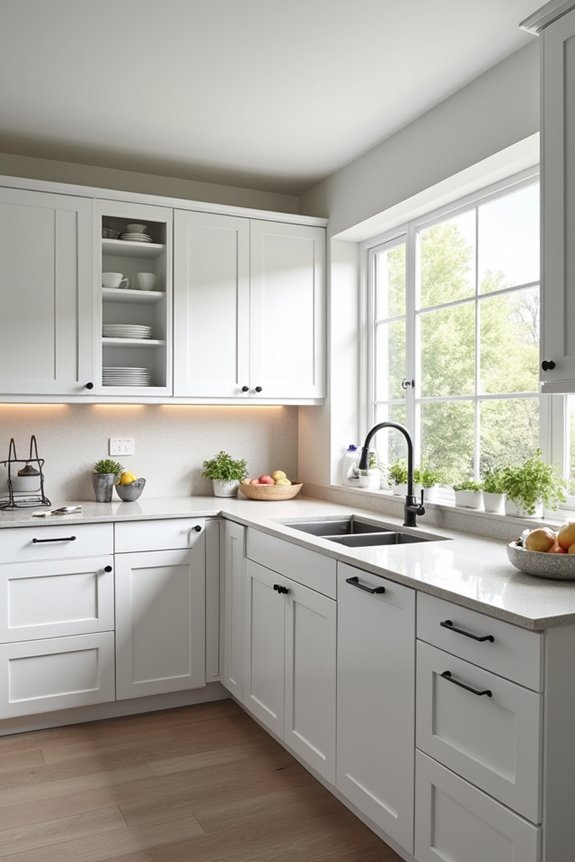
A U-shaped kitchen wraps around you with practical efficiency. This three-wall work area puts everything within arm’s reach while you’re cooking. You’ll find your fridge on one end, your stove on the other, and your sink nestled in the middle—following the classic work triangle layout.
The key advantage is storage optimization. You’ve got cabinets running along all three walls, providing dedicated space for your cookware, measuring cups, and kitchen tools. Larger spaces can incorporate an island for extra prep room, while smaller kitchens skip it to keep pathways clear and comfortable.
Galley Kitchens: Narrow Spaces, Smart Parallel Efficiency
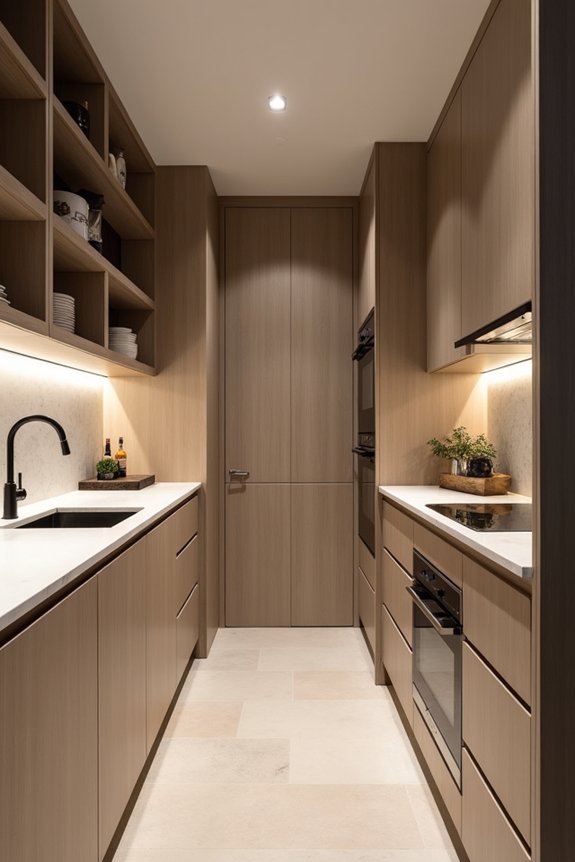
Ever walked into a narrow kitchen and felt like you’re cooking in a hallway? That’s actually a galley kitchen, and they work well for good reasons.
Galley layouts pack serious efficiency into tight spaces. Here’s what makes them work:
Galley layouts pack serious efficiency into tight spaces by creating natural workflow and keeping everything within arm’s reach.
- Two parallel walls create a natural workflow
- Hob opposite the sink keeps prep and cooking separate
- Compact footprint delivers a functional work triangle
- Light colors and open shelves prevent that cramped feeling
- Single cooks thrive in this streamlined setup
The key is in the planning. You’ll want to limit wall cabinets and think carefully about traffic flow. When done right, your galley kitchen becomes a functional zone where everything you need sits within arm’s reach. No wasted steps, just pure cooking efficiency.
Single-Wall Kitchens: Maximizing Function in Minimal Footprint
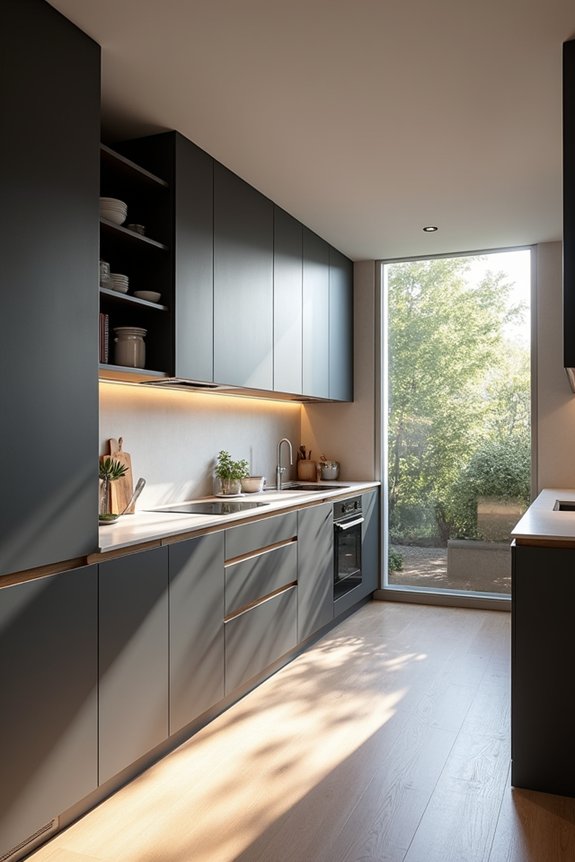
Making a single-wall kitchen work comes down to three practical steps: planning your space carefully, organizing your work zones, and managing every inch of counter space strategically. When I designed my aunt’s tiny kitchen, I realized that grouping the fridge, sink, and stove intentionally (what designers call the “work triangle”) meant she could prep food, cook, and clean up without unnecessary steps across the room. You can fit much more when you’re deliberate about placement—it’s like solving a puzzle, except this puzzle simplifies your morning routine.
Space Planning Essentials
What if I told you that some of the most efficient kitchens I’ve seen aren’t sprawling chef’s paradises—they’re single-wall layouts squeezed into tight spaces where every inch counts?
I’ve learned that smart space planning makes these compact kitchens functional. The key is understanding your work triangle—the invisible line connecting your sink, fridge, and range. Here’s what I’ve discovered works:
- Position your sink in the center of the wall
- Place your fridge on one end, range on the other
- Leave counter space between each zone
- Keep frequently used items within arm’s reach
- Measure twice before installing anything
You’re not sacrificing efficiency; you’re gaining it. By arranging your single-wall layout strategically, you’ll actually walk less and accomplish more. That’s what happens with thoughtful planning.
Work Zone Organization
How’d you like to stop running back and forth across your kitchen like you’re training for a marathon? The Work Zone Method changes how I move through my space. By organizing my kitchen layout into five focused zones—Food Storage, Food Prep, Cooking, Table Setting, and Cleaning—I’ve created an efficient workflow that works. In my single-wall kitchen, I placed these zones strategically along one wall, keeping related tools and ingredients together. This means I’m not constantly hunting for things or bumping into family members. Sure, it required thoughtful planning of counter space between zones, but the payoff? I’ve cut my cooking time noticeably. You’ll feel the difference immediately when everything you need sits within arm’s reach.
Counter Space Management
Now that you’ve got your five zones mapped out along that single wall, you’ll quickly realize that counter space is where the rubber meets the road. I’ve learned that smart counter space management makes or breaks your single-wall kitchen’s efficiency.
Here’s what I do to maximize every inch:
- Keep your working triangle tight – position fridge, sink, and stove close together to minimize wasted steps
- Use vertical storage – install shelves above counters to free up surface area
- Invest in multi-functional tools – a cutting board that fits over your sink doubles your workspace
- Clear clutter daily – I dedicate one corner as my staging zone for active cooking
- Choose slim appliances – they save precious counter real estate without sacrificing function
When you’re strategic about counter space management, your kitchen zones work harder, and you’ll feel like you’re cooking in a space twice its size.
Island Kitchens: When Extra Worktop Space Justifies the Investment
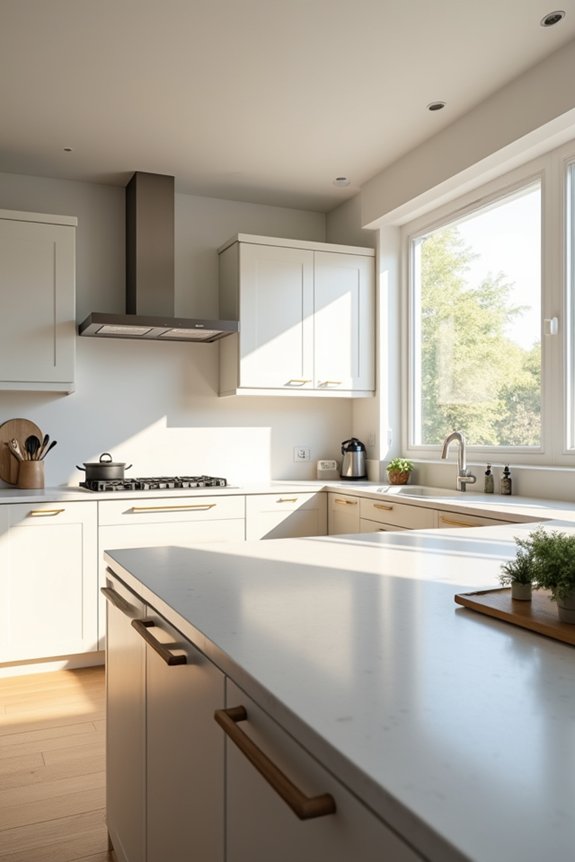
Ever noticed how the busiest home cooks seem to orbit around a central island like planets around the sun? An island kitchen changes how I work. It gives me substantial worktop space where I can prep, cook, and chat with family all in one spot. Sure, placing my hob on the island seemed perfect until I realized I needed solid ventilation overhead—that’s non-negotiable. I’ve learned the trick: position your island strategically so you’re not constantly walking between your fridge, sink, and stove. When done right, an island becomes your kitchen’s beating heart, bringing efficiency and togetherness. Just remember that large rooms work best, and you’ll want clear circulation paths around it to keep things flowing smoothly.
Choose Your Appliances First: Everything Else Follows
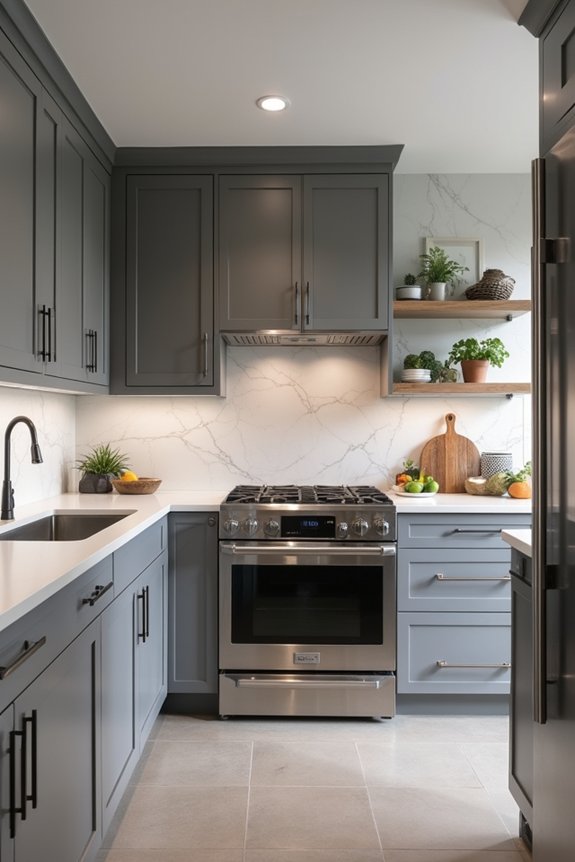
Your appliances are the skeleton of your kitchen—everything else hangs off them. I’ve learned that picking these first saves you headaches (and money) down the road. Here’s what I’d prioritize:
- Gas rangetop for superior cooking power
- Sink placement as your triangle’s anchor point
- Dishwasher location next to the sink for efficiency
- Refrigerator positioning completing your work triangle
- Island heat source if space allows
When you nail your appliances placement early, your kitchen layout practically designs itself. That functional work triangle—connecting sink, rangetop, and fridge—becomes your workflow highway. I’ve found this approach works whether you’re squeezing into a small kitchen or spreading out in a large one. Your budget, needs, and chosen layout all align perfectly when appliances come first.
Position Your Sink, Stove, and Fridge to Minimize Steps
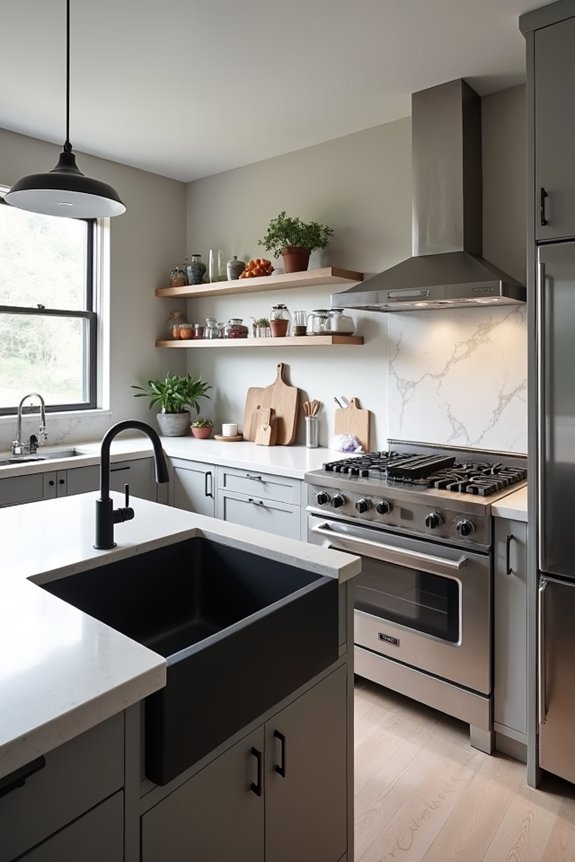
How many steps do you take during a typical dinner? I’ve counted mine, and it’s exhausting. That’s why the working triangle matters—it directly impacts your efficiency. Your sink, stove, and fridge should sit close together, creating what designers call proximity. This arrangement improves your workflow by cutting unnecessary steps.
| Triangle Measurement | Ideal Range | Why It Works |
|---|---|---|
| Perimeter | 13-26 feet | Balanced distances |
| Each side | 4-9 feet | Efficient movement |
| Obstructions | Max 12 inches | Smooth access |
I’ve positioned my appliances to form this triangle, and the difference is noticeable. Nothing blocks my path between stations. When you’re juggling hot pans and prep work, every step counts. Arranging your kitchen this way is a practical strategy for improving your daily cooking experience.
Design Work Zones That Match How You Actually Cook
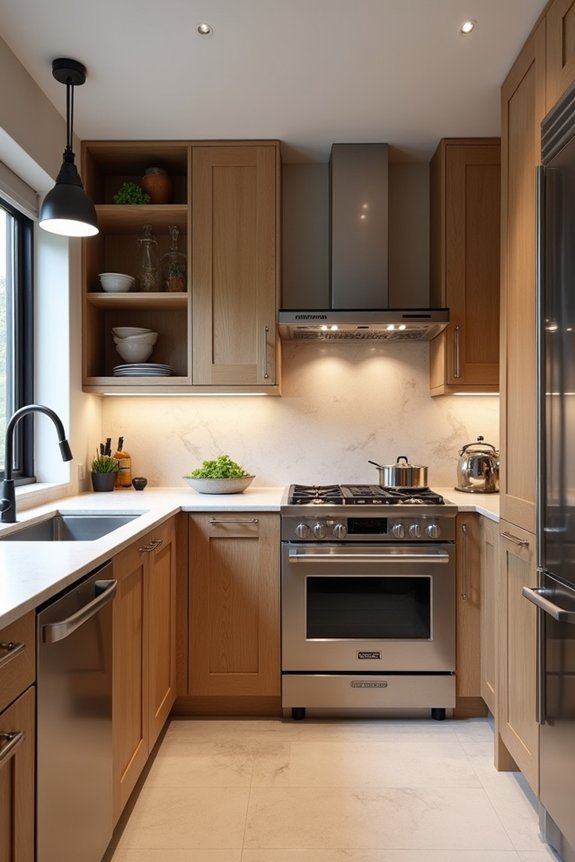
While the working triangle cuts down on steps between your three main appliances, I’ve found that it’s only half the battle. I’ve discovered that organizing kitchen work zones changes how I actually cook. Instead of bouncing around, I create dedicated spaces for different tasks:
- Food Storage zone near your fridge for easy access
- Food Prep zone with cutting boards and knives ready
- Cooking zone clustered around your stove
- Table Setting area for dishes and serving items
- Cleaning station by the sink
When I grouped these kitchen work zones together, everything worked better. My family can cook simultaneously without crashing into each other. You’ll find yourself reaching for what you need without hunting. This approach beats the traditional triangle because it matches real cooking, not just theory. Design your zones around your actual lifestyle, and you’ll notice the difference right away.
Right-Size Cabinets and Storage Around Your Daily Tasks
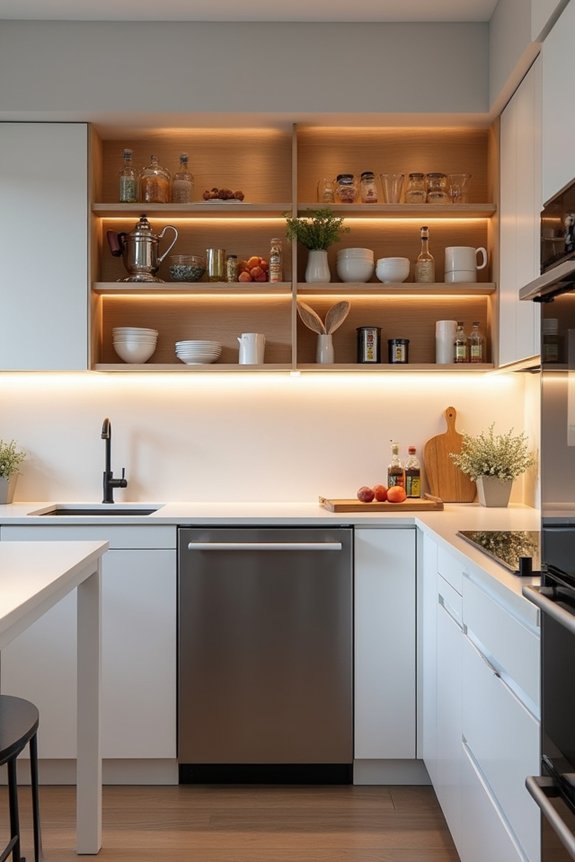
I positioned my oils and cooking essentials within arm’s reach of my prep zone—never near the rangetop, though I learned that lesson the messy way. Pull-out shelves became my best friends because I can actually see and grab what I need without playing cabinet Tetris.
I created a simple spreadsheet tracking where everything lives. This organizational system sounds fussy, but it’s honestly freed up mental space. When accessibility matches your cooking habits, you’re not hunting for items mid-recipe. That’s when kitchens finally start working *for* you instead of against you.
Test Your Layout Before Committing to Renovation
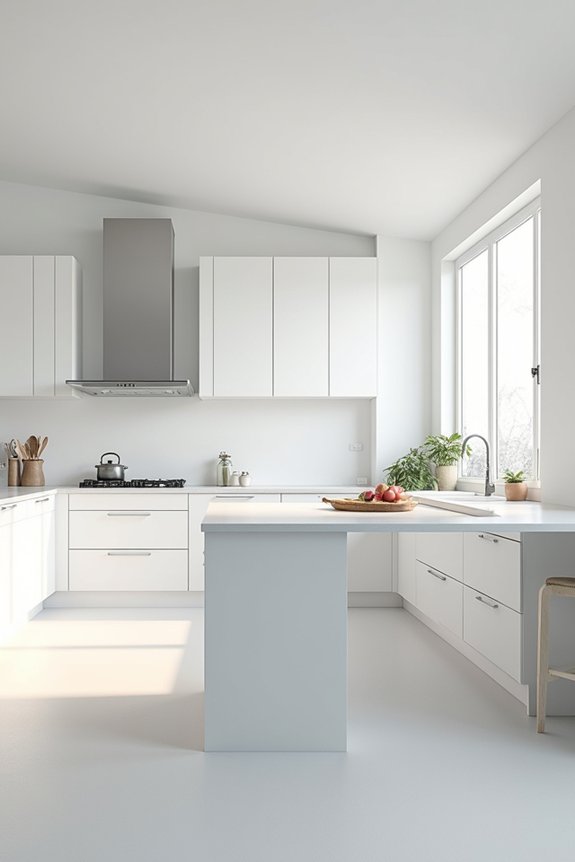
Before you start tearing down walls or dropping thousands on new cabinets, you’ll want to actually walk through your kitchen design and see how it *feels*. I learned this the hard way—I nearly committed to a layout that looked great on paper but would’ve left me shuffling between appliances like a frustrated penguin.
Test your Work Triangle by simulating your actual cooking routine:
- Measure distances between sink, fridge, and rangetop (aim for 4–9 ft sides)
- Walk the pathway around islands to spot traffic bottlenecks
- Use the Work Zone Method, assigning dedicated areas for prep, cooking, and cleanup
- Create a scaled floor plan or 3D mockup to visualize circulation
- Confirm open countertop space works well for your needs, not cramped
This testing phase saves you from expensive regrets.