I’ve decorated my plain bathroom towels into boutique-quality pieces using seven simple techniques. I started by attaching ribbon and fabric with thread for durability, then sealed edges with hemming or wrapping to prevent fraying. I added ribbon loops and pleated trim for visual interest, created yo-yo rosettes and button tassels for texture, and displayed everything strategically. The key element? Coordinating colors smartly and folding towels with intention. Each technique builds on the last, creating a polished bathroom display that holds up through countless washes.
Decorate With Ribbon or Fabric: Glue vs. Thread
Why settle for plain towels when you can jazz them up with ribbon or fabric? I’ve found that both machine sewing and fabric glue work beautifully for securing embellishments. Here’s what I’ve learned: pre-wash everything first to avoid shrinkage surprises later. When I’m choosing between glue and thread, I consider durability. Sewing holds up better through multiple washes, but honestly, fabric glue works great for decorative accents if you’re patient applying it. I always center my ribbon or fabric on the towel for balanced placement, and I finish the edges with a hem fold or wrap them to the back. The key? Pick whichever method fits your skill level. I’ve successfully used both, and either option creates towels worth displaying.
Seal Decorative Edges: Three Finishing Methods
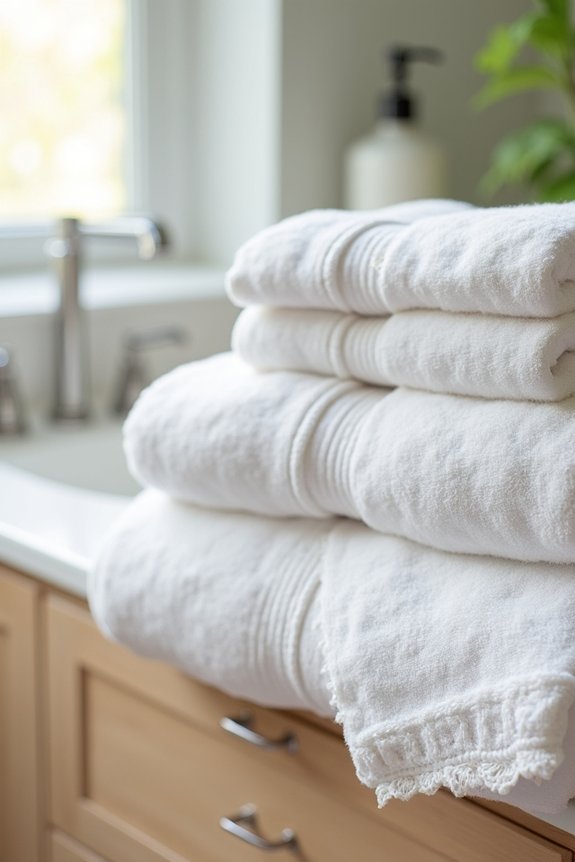
Now that you’ve attached your ribbon or fabric, I’ll walk you through three finishing methods that’ll keep your towels looking sharp through countless washes. You can hem the edges by folding them under and stitching a clean vertical seam, wrap the fabric around to the back and sew it down for a clean look, or use stitched seams to secure everything in place and prevent fraying. Planning which method works best before you even attach anything makes the whole project feel less stressful and more polished.
Hemming For Polished Results
the edges. I’ve learned that a quality hem finish elevates your work from “nice try” to “wow, you made that?” It’s honestly essential for keeping everything looking fresh, even after countless washes.
When I’m hemming, I follow these steps:
- Fold the towel end under about half an inch
- Press it flat with an iron to create a crisp crease
- Sew a vertical seam along the folded edge
- Reinforce with a second pass for durability
This decorative touch prevents fraying and gives your towels a boutique-quality appearance. Your guests won’t believe you created it yourself. The hem finish isn’t complicated—just precise. Once you master this technique, you’ll want to hem everything in your bathroom.
Wrapping Around Back Edge
If you’ve mastered the basic hem, you’re ready for a technique that looks more polished: wrapping your decorative trim completely around to the back of the towel. I love this method because it creates a continuous, professional appearance that’s visible when your towel hangs on the towel rack.
Here’s what I do: I wrap the ribbon or fabric strip around your towel’s edge, then fold it under and sew it down securely on the back side. This approach gives you a decorative edge that’s beautifully finished on the front while staying hidden in the back. The result? Your bathroom towels look like you bought them from a fancy boutique. Plus, wrapping prevents fraying completely and keeps everything in place through countless washes. It’s honest work that’s simpler than it sounds.
Securing With Stitched Seams
Once you’ve wrapped your trim around the towel’s edge, it’s time to lock everything down with strong stitching—and honestly, this is where your decorative towels really earn their keep. I’ve learned that solid seams provide the foundation between towels that look handmade and ones that actually survive the washing machine.
Here’s what I do:
- Use a vertical seam along the back edge for invisible stitching
- Sew down folded edges to prevent fraying during laundering
- Keep seams tight and neat to reduce puckering
- Reinforce corners where trim meets fabric for durability
When you stitch properly, your towels maintain their tuck and stay beautiful wash after wash. This step separates amateur decorating from results you’ll actually be proud displaying in your bathroom.
Add Ribbon Loops and Pleated Trim
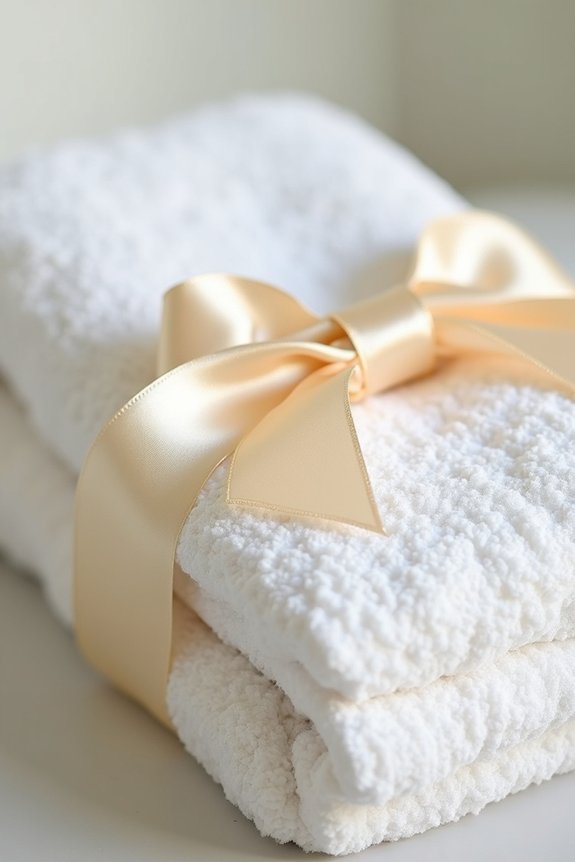
Want to give your bathroom towels that fancy, boutique look without spending a fortune at a fancy store? I’ve found that ribbon loops and pleats work well for turning plain towels into something special.
For ribbon loops, I fold ribbon halves to create loops, pin them along the towel edge, then sew them down. It’s straightforward, and the textured result looks polished.
Pleated trim adds more detail. I cut ribbon to triple the towel’s width, create sharp pleats, and stitch everything securely. Adding beads above each pleat? That’s where the sparkle comes in.
I finish ribbon ends with a simple hem or wrap them around for a neat look. Using my sewing machine keeps everything in place through countless washings, so your towels stay attractive longer.
DIY Towel Trim: Yo-Yos and Button Tassels
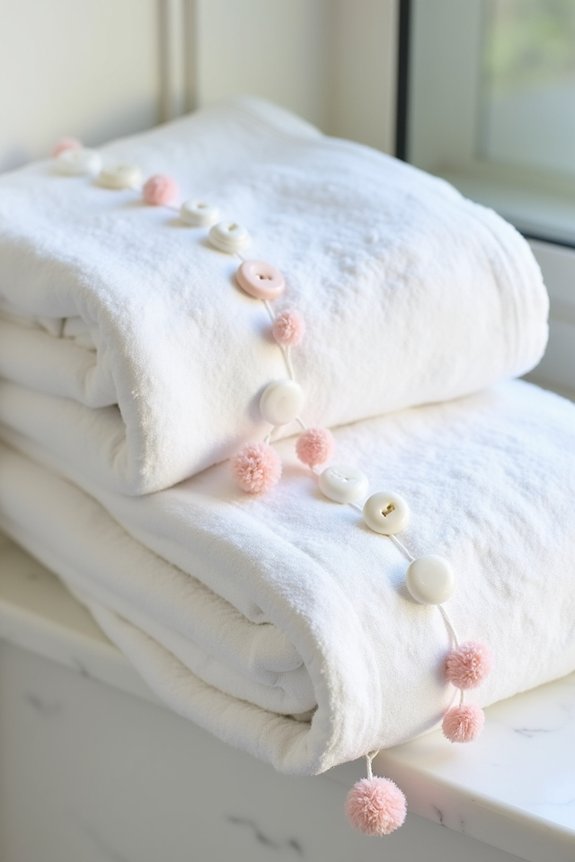
Fabric Yo-Yo Rosettes: Cut fabric circles, gather them, and secure the center with a knot for instant embellishment
Button Tassels: Thread stacked buttons onto thread with a knotted end, then sew to your towel edge
Creative Combinations: Mix yo-yos with beads or buttons for added personality and whimsy
Secure Attachment: Use either your sewing machine or fabric glue—both withstand laundering beautifully
These DIY trims give your towel handmade charm. Whether you’re sewing or gluing, finish those fabric ends with a clean hem or wrap them around back. The techniques work well for creating textured, dimensional trims using materials you likely have at home.
Choose a Display Method for Decorated Towels
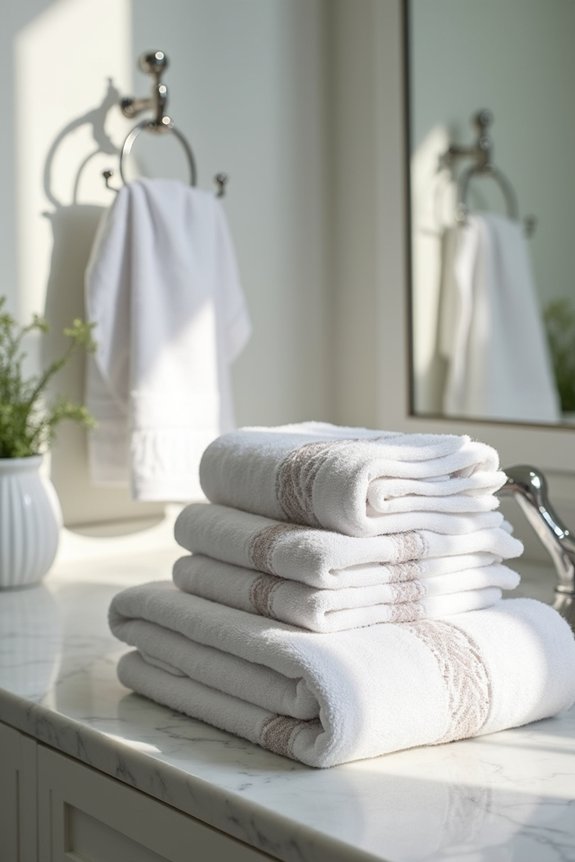
Now that you’ve invested time in creating beautiful towel embellishments, how do you actually show them off? Your towel display method matters just as much as the decorative touches themselves.
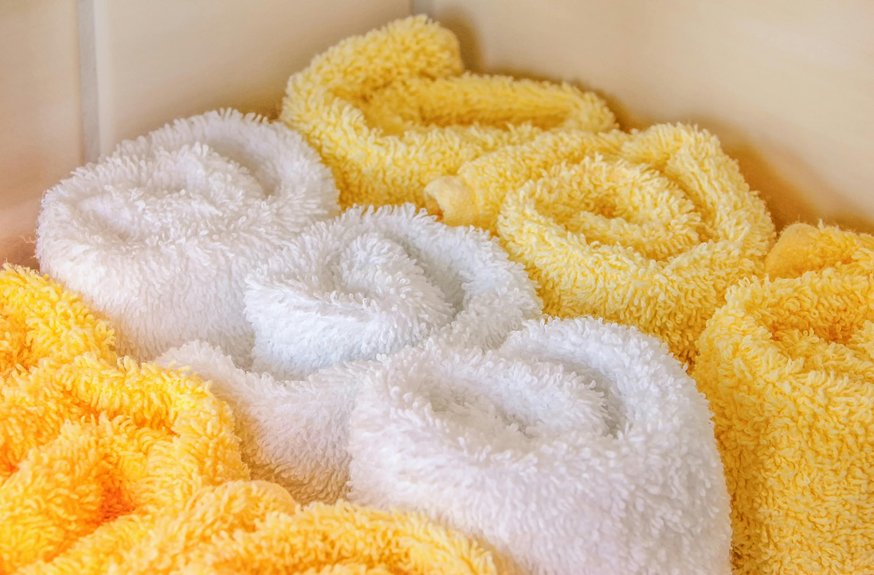
Layering different-sized decorative towels on a rack creates visual depth and keeps everything accessible. For a guest-friendly approach, roll your embellished towels tightly and nestle them in a basket or tray. This method looks intentional and works well.
If you’re working with towel rings or hooks, fold your towels into thirds and position the decorative side up for maximum impact. The key is combining your display method with coordinating baskets, greenery, or candles to establish a cohesive bathroom vignette. This approach turns your decorated towels from merely functional into style statements that guests notice.
Coordinate Colors and Patterns
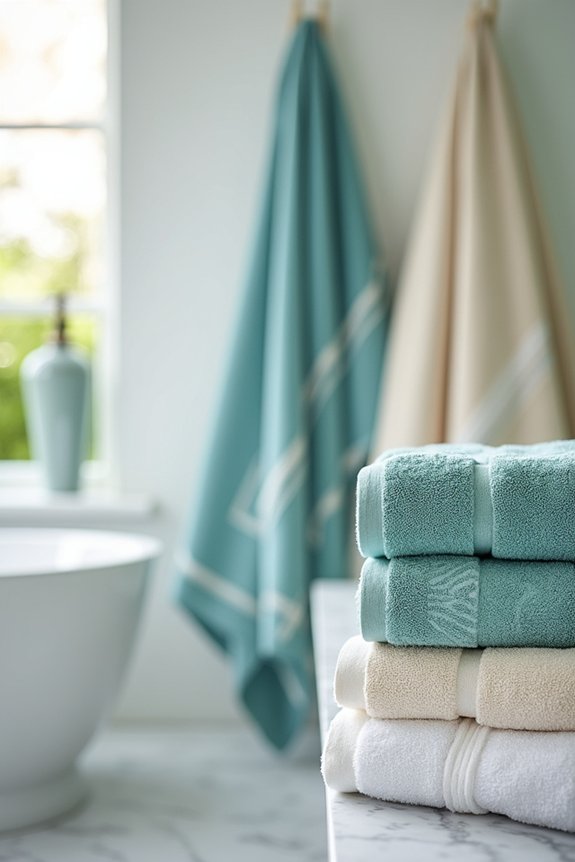
I’ve found that coordinating your towels doesn’t have to feel like solving a puzzle—it’s actually about finding the sweet spot between colors, textures, and patterns that work together. You’ll want to match your bathroom’s overall vibe, whether that means pairing white towels with your colorful tile backsplash or layering soft plush and waffle-weave fabrics in the same color family for subtle depth. The real trick I’ve learned is balancing one patterned towel with solid colors so your display looks planned rather than like you grabbed whatever was clean that morning.
Match Your Bathroom Palette
Your bathroom’s color story matters more than you’d think—it’s what makes a purely functional space feel more personalized. Matching your towels to your color palette creates a unified look that ties everything together.
Here’s how I approach it:
- Choose soft neutrals (whites, grays, beiges) for a calm, spa-like atmosphere
- Pick bold hues that echo your wall color or tile accents
- Layer different-sized towels in complementary shades for visual depth
- Use textured patterns (waffle, ribbed) to add interest without clashing
If your bathroom walls are already busy with patterns, stick with solid-colored towels as a grounding backdrop. It’s the simplest way to prevent your space from feeling chaotic. You’ll appreciate a bathroom that matches your personal style.
Layer Complementary Textures
Once you’ve locked in your color palette, the real action starts when you begin playing with textures—this is where towels become visually interesting. Mixing plush solid towels with smoother patterned ones creates excellent tactile contrast. Try pairing a waffle-weave towel with a ribbed one in coordinated colors. This combination keeps everything looking organized, not chaotic. Arrange your patterned pieces where they’re visible at the front, then layer solid towels behind them. It’s like creating depth with purpose. When you vary textures subtly, your bathroom doesn’t feel overly matched or sterile. Instead, it feels thoughtfully styled—like you put consideration into your choices while enjoying the process of experimentation.
Balance Pattern With Solids
How do you keep patterned towels from taking over your bathroom like some kind of textile explosion? Balancing patterns with solids works well. Here’s what to do:
- Pair bold patterned towels with neutral bath towels so designs stand out without chaos
- Mix 2–3 patterns maximum so your space feels organized, not random
- Match solid colors to tones found in your patterned towels for consistency
- Alternate items on towel bars—pattern, solid, pattern, solid—creating visual rhythm
Placing vibrant patterns against neutral solids makes everything look more organized. Your bathroom becomes a space where patterns stand out nicely instead of clashing. This approach works to shift your towel display from overwhelming to inviting.
Fold and Layer Towels for Impact
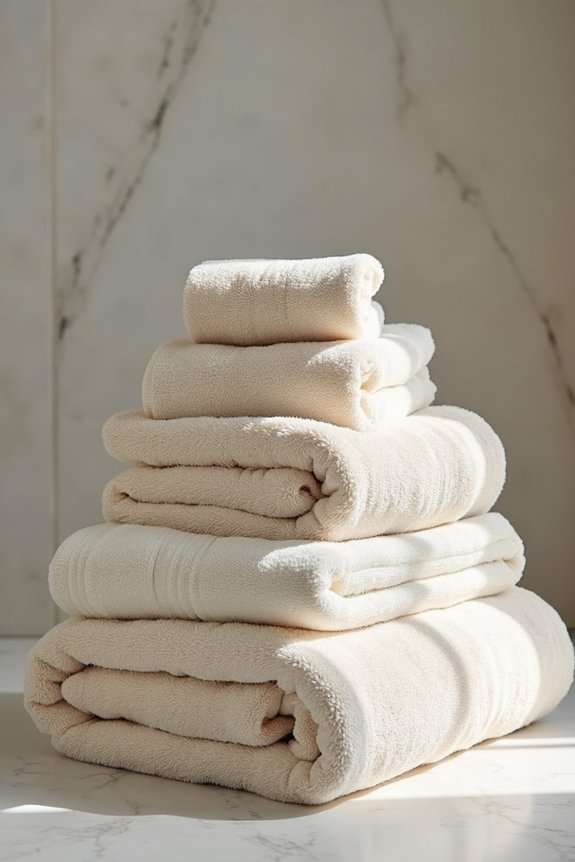
When I discovered that folding and layering towels could improve my bathroom’s appearance, I realized I’d been hanging them all wrong for years. I started with the Classic Fold—folding lengthwise, then halving again, then hanging with the folded edge out. It looked so clean and symmetrical that I wanted to explore further.
That’s when I tried layering. I placed different-sized towels on my rack, alternating colors for depth. The trick? I kept slight spacing between layers to avoid that cramped feeling. Sometimes I’d position towels at different heights, letting them overlap just a bit.
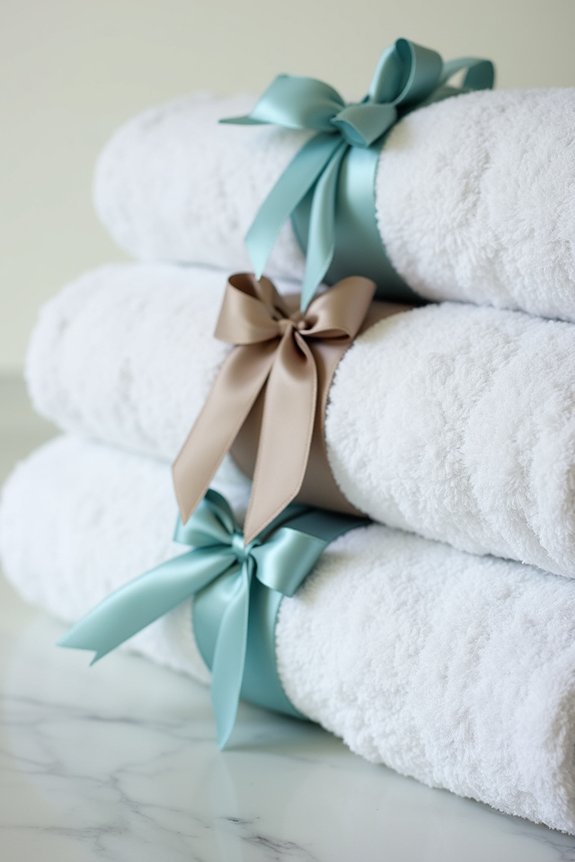
Now I occasionally roll a towel, tie it with a ribbon, and drape it across the stack for texture. These simple folding and layering techniques gave my towel display a more polished appearance.