No, you shouldn’t use decorator’s caulk in your bathroom. It’s basically acrylic filler that softens and crumbles when moisture hits it, especially around tubs and showers. Steam weakens it, cracks appear, and mold loves the gaps.
You’ll want silicone sealant instead. It stays flexible, resists water for years, and actually protects your walls. The upfront cost is worth it to avoid water damage problems down the road. Apply it correctly for the best results.
What Decorators Caulk Actually Is (and Why It Fails in Bathrooms)
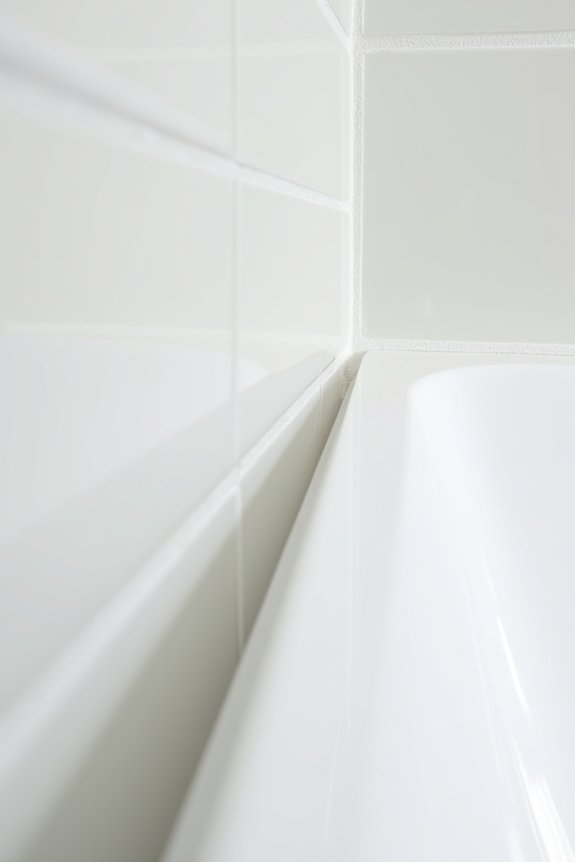
Ever wondered why that caulk you used around your bathroom sink started cracking after a few months? I’ve been there too. Decorator’s caulk is basically a flexible acrylic filler designed for gaps between skirting boards and walls—not bathrooms. Here’s the thing: it doesn’t stretch much, so when moisture causes materials to shift, it cracks. I learned the hard way that this stuff crumbles in damp environments. While it’s paintable and easy to apply with a caulking gun, it can’t handle the constant moisture exposure bathrooms throw at it. It lacks the mold resistance and waterproofing your bathroom actually needs. Think of it like wearing paper shoes in the rain—sure, they look fine initially, but they won’t hold up.
Where Decorators Caulk Works (and Doesn’t) in Your Bathroom
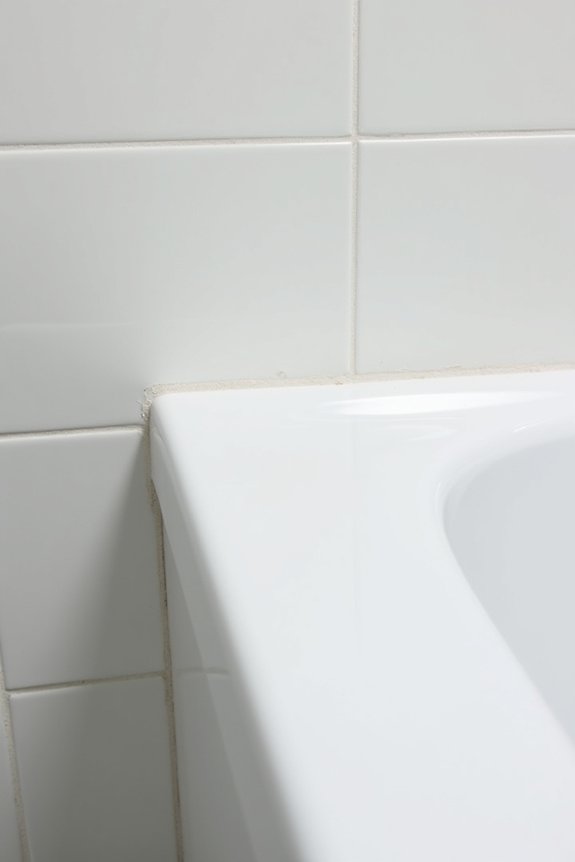
So here’s the reality: decorator’s caulk isn’t completely useless in bathrooms—it’s just picky about where you put it. I’ve found it works fine for small gaps between tiles and ceilings, where water exposure is minimal. However, avoid it around tubs, showers, and sinks—those areas demand silicone sealants instead. Why? Decorator’s caulk can’t handle the constant moisture and movement that bathrooms throw at it. It’ll crack and fail faster than you’d like. If you’re tempted by its paintability, remember that painting won’t save it from water damage. Think of decorator’s caulk as your bathroom’s fair-weather friend: helpful in dry spots, but unreliable when things get wet. Save silicone for anywhere moisture matters.
How to Spot the Difference Between Caulk and Sealant?
When I’m standing in the caulk aisle at the hardware store, I notice most people grab whatever’s closest without realizing they’re picking up two totally different products. Here’s the thing: decorator’s caulk and silicone sealant aren’t interchangeable, even though folks use those terms like they mean the same thing.
I’ve learned that decorator’s caulk is an acrylic filler that works well for gaps in skirting boards and furniture—you can even paint over it. But a silicone sealant? That’s your bathroom’s best friend. It’s specifically labeled for sanitary use and resists water and humidity far better.
The difference matters. Decorator’s caulk gets soft and breaks down around moisture. A proper silicone sealant stays flexible and lasts significantly longer in wet zones. Once you know this, you’ll spot them instantly on the shelf.
Why Silicone Sealants Outperform Caulk in Wet Areas
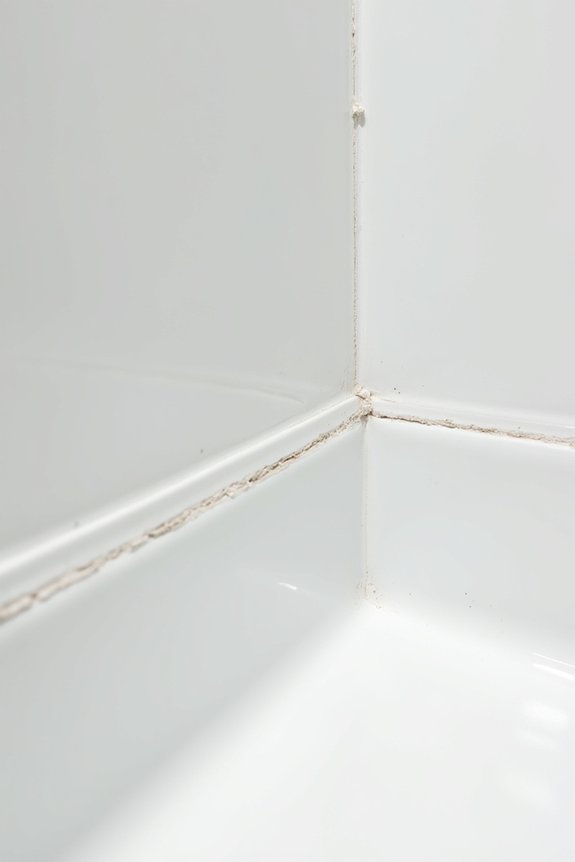
I’ve learned the hard way that silicone sealants work better than decorator’s caulk in bathrooms—they’re flexible enough to handle the constant stretching and shrinking from moisture and temperature swings that would cause caulk to crack and fail. Silicone actually resists mold growth, which means you won’t be scrubbing black spots off your shower corners every few months like I used to do. The durability difference is significant: while decorator’s caulk dries out and fails in wet environments, silicone stays waterproof and flexible for years, preventing dangerous gaps from forming between your tiles and tub.
Water Resistance and Flexibility
Why does your bathroom caulk fail while your silicone sealant keeps hanging in there? I’ve learned the hard way that not all products handle moisture equally.
Here’s what happens in your bathroom:
- Decorator’s caulk shrinks and cracks when exposed to constant humidity and temperature changes
- Water sneaks behind failed caulk, causing mold and structural damage you’ll regret later
- You’re left reapplying caulk every year instead of enjoying lasting protection
Sanitary silicone sealant stays flexible through moisture cycles, maintaining its seal where it counts most. Unlike acrylic caulk, silicone won’t dry out or detach from your tub and shower walls. Choosing the right product means fewer bathroom emergencies and genuine peace of mind. The upfront investment pays off through years of reliable performance.
Mold Prevention in Bathrooms
Ever noticed black spots creeping along your bathtub edges after a few months? That’s mold, and it’s not your fault—it’s just what happens in bathrooms. Here’s where silicone really shines. Silicone sealants have built-in mold- and mildew-resistance properties that decorators caulk simply can’t match. When switched to silicone around shower areas, those stubborn spots stop returning.
Silicone creates an environment where mold struggles to take hold. Unlike regular caulk, which absorbs moisture and invites trouble, silicone repels water and resists staining. It’s like giving your joints a protective shield against bathroom dampness.
For best results, use sanitary-grade silicone specifically labeled for baths and showers. Proper surface prep and letting it cure fully prevents tiny cracks where mold could hide. Your bathroom will benefit from this approach.
Durability Through Moisture Exposure
Flexibility is the key advantage that separates silicone sealants from decorator’s caulk in your bathroom. Moisture cycling—all that steam and splashing—breaks down regular caulk over time. Here’s what happens when you skip the silicone sealant:
- Cracks form as temperatures shift, letting water sneak behind tiles and cause costly damage
- Your caulk loses grip on surfaces, creating gaps that invite mold and mildew growth
- You’ll find yourself recaulking every couple years instead of maintaining a lasting seal
Silicone sealants stay flexible through these moisture swings, maintaining that watertight bond year after year. Choose a silicone sealant labeled for sanitary use, and you’ll get a durable solution that lasts.
Prep and Application: Getting Bathroom Caulk or Sealant Right
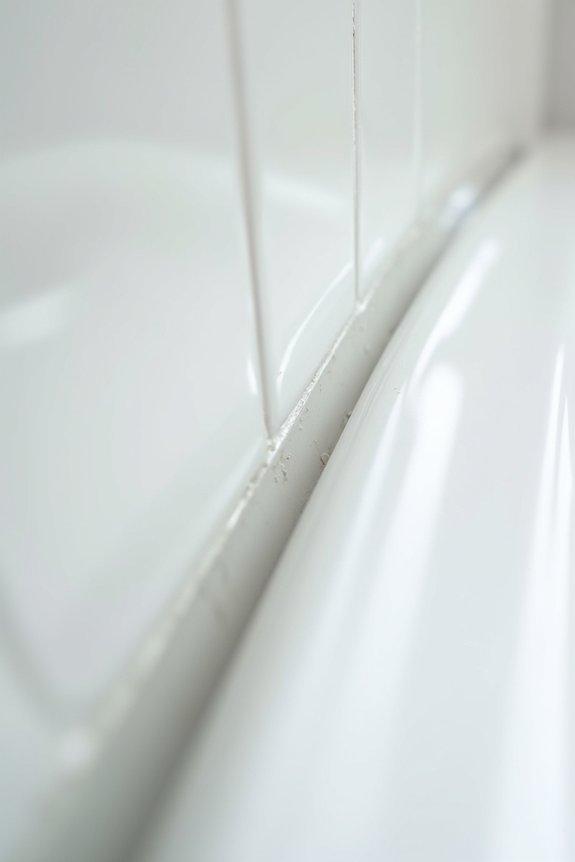
I’ve learned the hard way that rushing into caulking without proper prep leads to a moldy bathroom in a few months. You’ll want to strip out that old caulk, scrub everything down with a mildew-killer, and tape off your edges cleanly—masking tape is your friend here. Once you’ve got a clean slate, applying your silicone sealant with a steady hand and then giving it the full curing time (I know it’s tempting to shower immediately) will determine whether a job lasts or you’re redoing it next year.
Surface Preparation Essentials
Before you even think about squeezing that caulk gun, you’ve got to prep your surfaces—and I’m not talking about a quick wipe-down with a paper towel (I’ve learned this the hard way). Proper surface preparation is the difference between caulk that lasts years and caulk that fails.
Here’s what I do:
- Remove old caulk completely using a caulk remover or solvent—don’t skip this step or you’ll regret it
- Scrub and dry everything thoroughly so moisture doesn’t sabotage your fresh seal
- Apply masking tape to create crisp, professional-looking lines that make you feel like a pro
Once your surfaces are clean, dry, and prepped, you’re ready for success. These foundation steps separate bathroom caulking disasters from wins.
Application Technique and Timing
How do you actually get that caulk into the gap without making a mess? I’ll be honest—it takes practice. I load my caulking gun, position the tip at a 45-degree angle, and apply steady pressure for a controlled bead. Then comes the satisfying part: I smooth it with my wet finger, creating that clean finish we’re after.
Timing matters too. I let the caulk dry for 1–2 hours before exposing it to moisture, though I plan for a full 24 hours when possible. Sometimes gaps sink slightly after drying, so I don’t hesitate to apply a second small bead and re-smooth it. That’s just part of getting a clean line right.
Why Bathroom Moisture Destroys Decorators Caulk Over Time
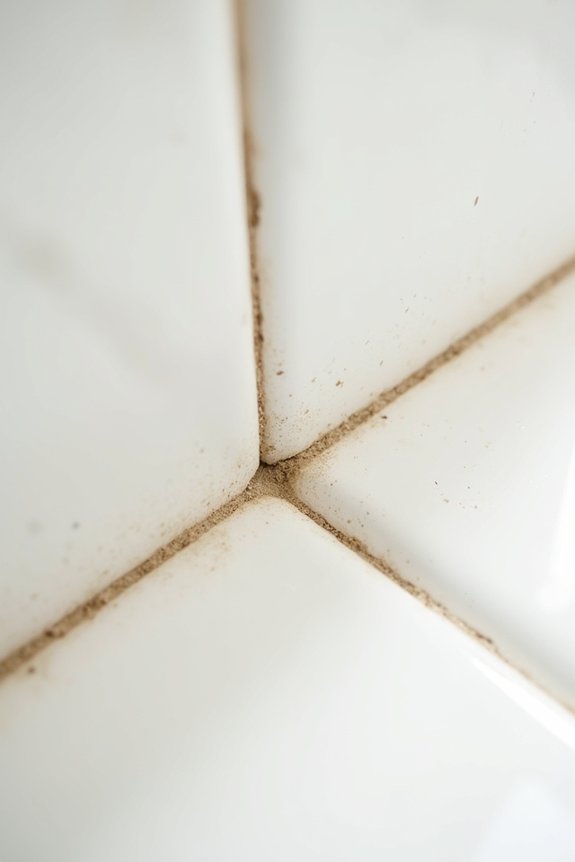
Ever wonder why that fresh caulk line you applied last year is now cracking and peeling? I’ve been there, and I learned the hard way that decorator’s caulk simply can’t handle bathroom moisture. Here’s what happens:
That fresh caulk line you applied last year is now cracking and peeling because decorator’s caulk simply can’t handle bathroom moisture.
- Steam weakens the caulk’s grip – Constant humidity causes the flexible acrylic to lose its adhesion, creating gaps where water sneaks behind walls
- Moisture triggers rapid deterioration – Unlike silicone sealants, decorator’s caulk degrades faster when exposed to frequent wetting and steam
- Cracks invite mold and water damage – Those tiny failures become highways for moisture infiltration, threatening your bathroom’s structural integrity
Decorator’s caulk’s lightweight, paintable nature makes it fundamentally unsuitable for continuous water exposure. If you want to protect your bathroom long-term, you’ll want silicone or sanitary-grade sealants instead. The investment pays off.
Best Bathroom Sealant Brands and Formulas to Buy
So what’s the difference between a sealant that lasts five years and one that fails in twelve months? It’s simple: you’ve got to use a silicone sealant designed specifically for bathrooms. I learned this the hard way after my first caulking disaster.
Brands like MAPESIL SOLVENT-FREE work well because they’re sanitary silicones that actually resist mold and water—you know, the stuff that destroys decorator’s caulk. I appreciate that these options come in off-white and cream shades, so they blend seamlessly with your tiles and fixtures.
Here’s the honest truth: quality bathroom silicone costs more upfront, but it saves you from ripping out failed caulk in a year. Choose sanitary silicones, prep your surfaces properly, and let them cure completely before showering. You’ll see the difference later.
How to Replace Old Bathroom Caulk and Prevent Water Damage
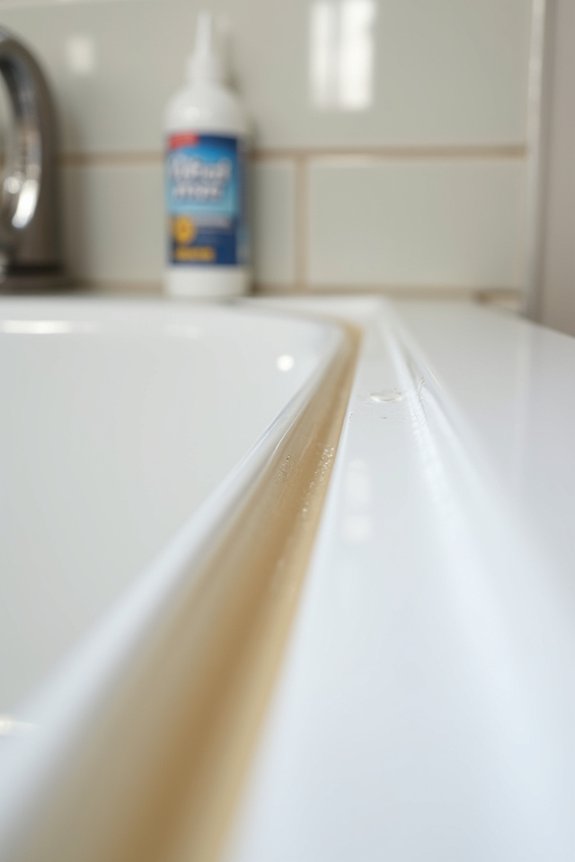
When’s the last time you actually looked at the caulk around your bathtub? Yeah, I know—it’s easy to ignore until water starts sneaking where it shouldn’t. Here’s what matters most:
- Remove old caulk completely, or moisture will hide behind it like an unwelcome guest
- Clean surfaces with mildew-resistant cleaner and isopropyl alcohol so new caulk actually sticks
- Apply smooth, even beads with your caulking gun, then finish with a damp finger
This job takes patience. But high-grade silicone caulk designed for bathrooms prevents costly water damage that’ll result from skipping this step. Spending an afternoon now saves your walls and wallet later.
Decorators Caulk vs. Silicone: Quick Decision Matrix by Zone
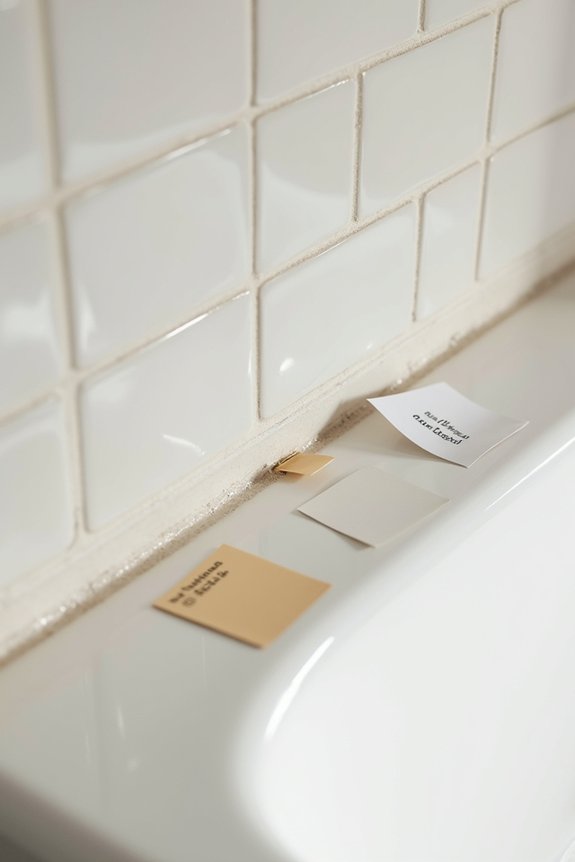
Here’s the thing about choosing between decorator’s caulk and silicone—it’s not actually complicated once you know what each one’s really good at.
I’ve learned that the right product depends entirely on where you’re using it. Let me break down what works where:
| Zone | Best Choice | Why |
|---|---|---|
| Skirting boards & gaps | Decorator’s caulk | Flexible, paintable, perfect for walls |
| Bathroom windows & tiles | Silicone | Superior moisture resistance |
| Around tubs & showers | Silicone | Mold-resistant, durable in humidity |
| Wood furniture holes | Decorator’s caulk | Accepts paint beautifully |
| Damp areas | Silicone | Won’t crack in moisture |
Here’s my honest take: decorator’s caulk cracks easily in bathrooms because it’s less flexible than silicone. I’d skip it near water entirely. Silicone sealants—especially solvent-free options—protect your bathroom long-term. Investing in the right product now saves frustration later.